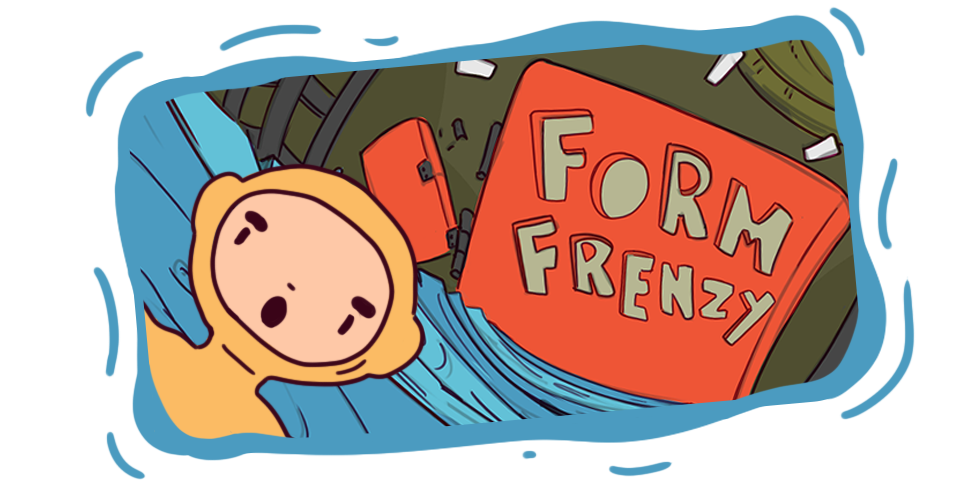
Form Frenzy
Devlog 1: Research
INTRODUCTION
Hello, this is the first update on our team journey in developing our first Co-Op game for the Game Project class at Howest Digital Arts & Entertainment.
Our team is comprised of two amazing programmers (Lozano bedoya Miguel and Olemans Arne) and two amazing artists (Maes Lars and Stefanelli Gabriele). We came up with the idea for this game based on the famous show "Hole in the Wall". We envisioned a modern version of it that could be played whilst at a party with friends.
Our gameplay and main mechanic revolve around sharing the control of one main character between two players. One controls the upper body and the other the lower part. The goal is as simple as it gets; match the shape of the wall cut-out!
With this DevLog we want to make you part of our developing process showing what goes into creating what hopefully will be a successful game.

Programming
Although Unreal offers a set of tools that can come in handy in the long term, we came up to the decision of using the well known unity due to the following reasons.
Ease of Learning and Use: Unity is known for its user-friendly interface and comprehensive documentation, which makes it easier for both programmers and artists to get started with the engine quickly. With limited time available for development, we needed a tool that would allow our team to hit the ground running without extensive training or ramp-up periods.
Familiarity with the Engine: While we didn't base our decision solely on personal preferences, it's worth noting that some members of our team had prior experience with Unity. This familiarity with the engine allowed us to leverage existing knowledge and workflows, minimizing the learning curve and streamlining development efforts.
Flexbility and Customization: Unity offers a high degree of flexibility and customization, allowing us to tailor the engine to suit our specific needs and gameplay mechanics. This was particularly important for our game, which features unique control mechanics and requires precise coordination between players. Unity's extensive store also provides access to a wide range of plugins and resources that can enhance our development process and add polish to the final product.
now a brief overview of our implementation in code for our game.
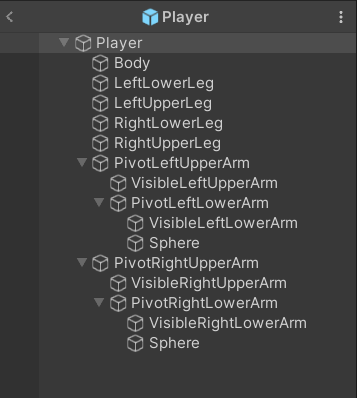
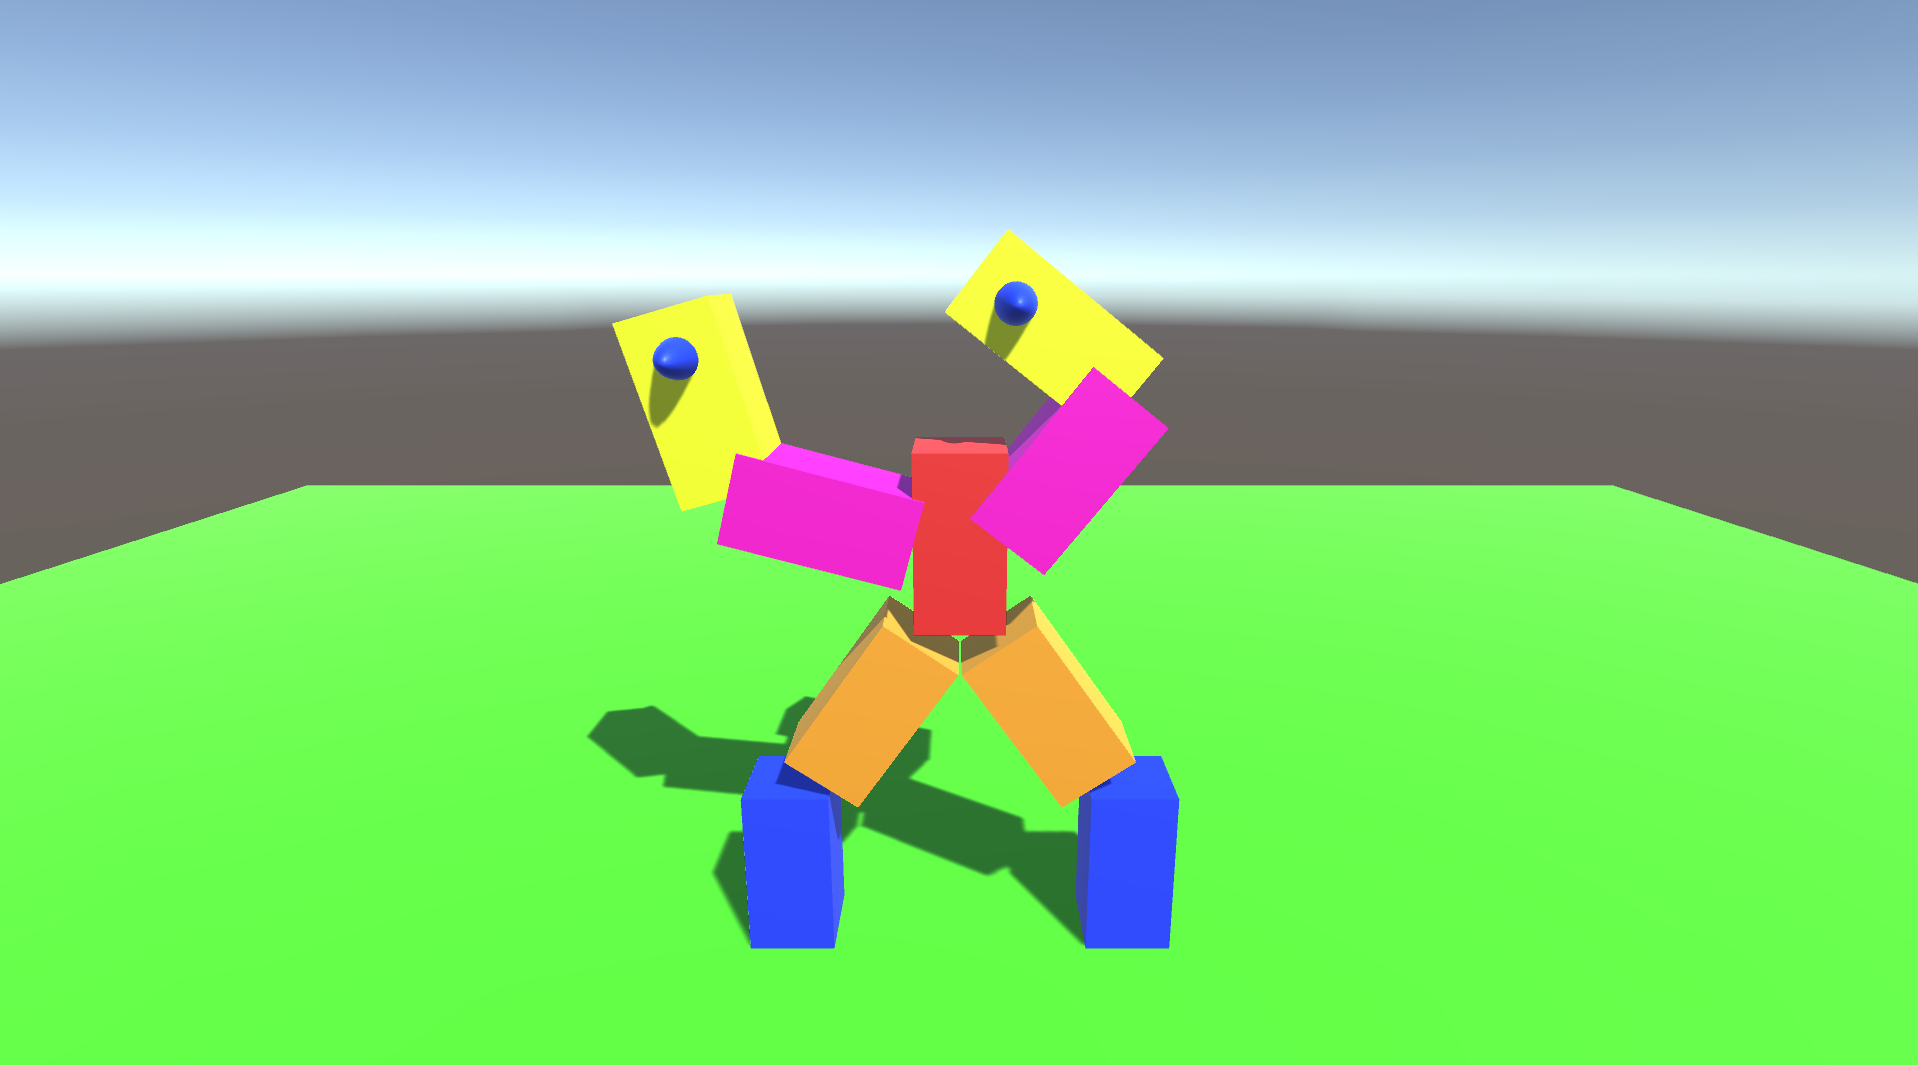
We've introduced a feature enabling precise control over the arms, allowing independent movement of the forearm from the arm. By establishing pivot points at the shoulder and elbow joints, we've enabled rotational movement at these pivotal locations.
The forearm is a child-Gameobject of the upper part of the arm, ensuring that when the upper arm moves, the forearm moves accordingly.
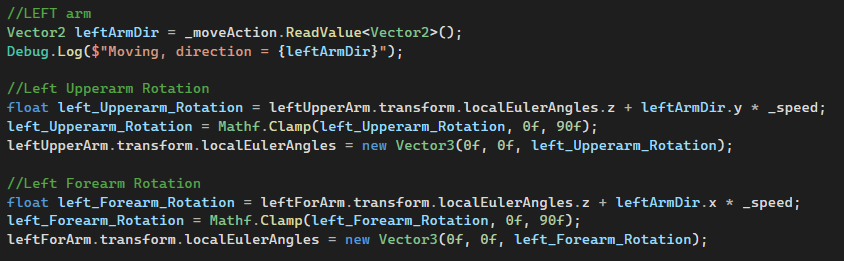
We pass the pivot-point-Gameobjects and rotate their z-rotation value by multiplying their current rotation with either the x or y value of the joystick associated with that specific arm segment. Afterward, we clamp the rotation value between a min and max angle value and set the value to the transform component.
Can the main mechanic be done both in unity and unreal?
We're currently in the process of deciding between Unity and Unreal Engine for our project. Over the next two weeks, during the prototype stage, we'll carefully evaluate each engine to determine which one aligns better with our project's needs. Both engines are being considered, and we're creating prototypes in both to assess their capabilities.
Initial assessments indicate that the core mechanics can be implemented in both Unity and Unreal Engine. Additionally, both engines support two-player controller input and split-screen functionality if required.
Unreal already has clear documentation about controller the upper en lower body seperatly with 2 different input devices. This is one of out main components and would give us a big head start. On the other hand, Unity offers rapid prototyping capabilities, allowing us to explore a wider range of prototype concepts quickly. This speed could significantly expedite our development process.
Unreal would be alot slower than Unity, Unreal can also cose some issuese with sinking new code to the Engine itself. Fortunately, the IDE Rider offers excellent compatibility with Unreal, potentially resolving many of these integration issues.
In conclusion, while both engines have their strengths and weaknesses, our decision will be based on which engine best supports our project's unique requirements and offers the smoothest development experience.
What are the best controls to control the main mechanic?
We experimented with two different methods to manage the arms. Initially, we utilized buttons to manipulate each arm independently, requiring players to switch between buttons for different arm actions. While this method presented a steeper learning curve and slower gameplay initially, it offered superior precision.
Alternatively, we explored controlling the arms solely with joysticks. The left joystick controlled the left arm's forearm using its x-axis and the entire arm with its y-axis, with a similar setup for the right arm. This approach resulted in a more intuitive and satisfying gameplay experience, requiring less explanation for players to grasp.
Ultimately, we opted to stick with the joystick method to maintain simplicity and user-friendliness in the controls. This decision ensures that new players can quickly pick up the game and immerse themselves in the lively, party-like atmosphere we aim to create.
Art
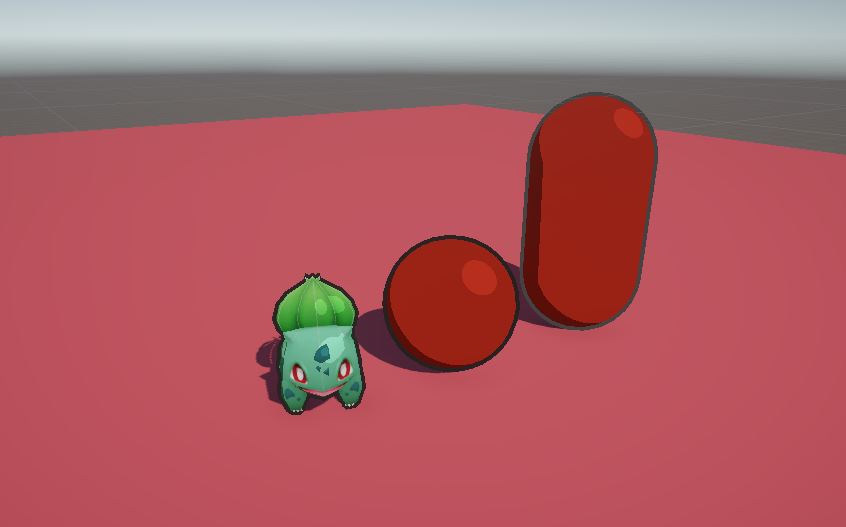
Thinking about the style and type of game we opted to go with a stylized-toon look. Our main inspiration for the look is "Ollie Ollie World". we want to have a style that feels simple while being pleasant to the eye. This was a very conscious choice to allow our artist to iterate very easily and to make the gameplay as light as possible in a social setting, something that would have been very hard to achieve with a more realistic style.
To understand if this style could be pleasant to the eye, we tried to create the first version of a toon shader both in Unreal Engine 5 and Unity 22. The results we got have been encouraging and have cemented our decisions. we have not yet started designing our levels and character as for now we want to make sure our goals are achievable from a technical point of view.
After we are satisfied with our test the next step will be to start to design our character(s) and our levels.
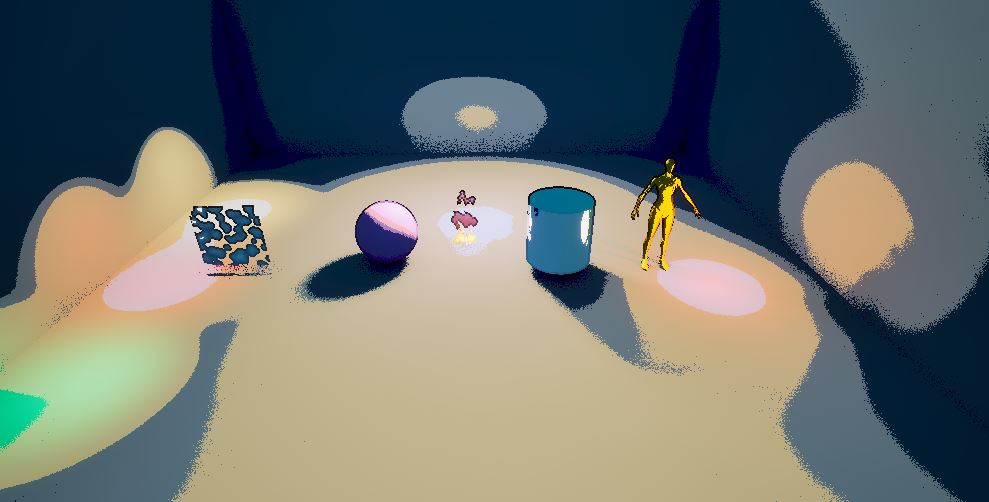
quick toon shader test in unity
We also took a closer look at how OlliOlli world and rollerdrome created their tone shader. Here is what we learned.
- RollerDrome
How do they achieve lines on their props in specific areas?
They utilize a script that looks at the vertex color of an object. Whenever a new vertex color appears, it generates a black graphic line. This process takes place in a buffer pass, they use the sobel filter to achieve this.
Regarding the lines in their environment, a texture on the ground plays a key role. The lines are placed in a trim sheet in the Green channel of the. Once again, the sobel filter is applied to create graphic lines. In instances of errors in some areas, they employ a masking technique to work around the issue.
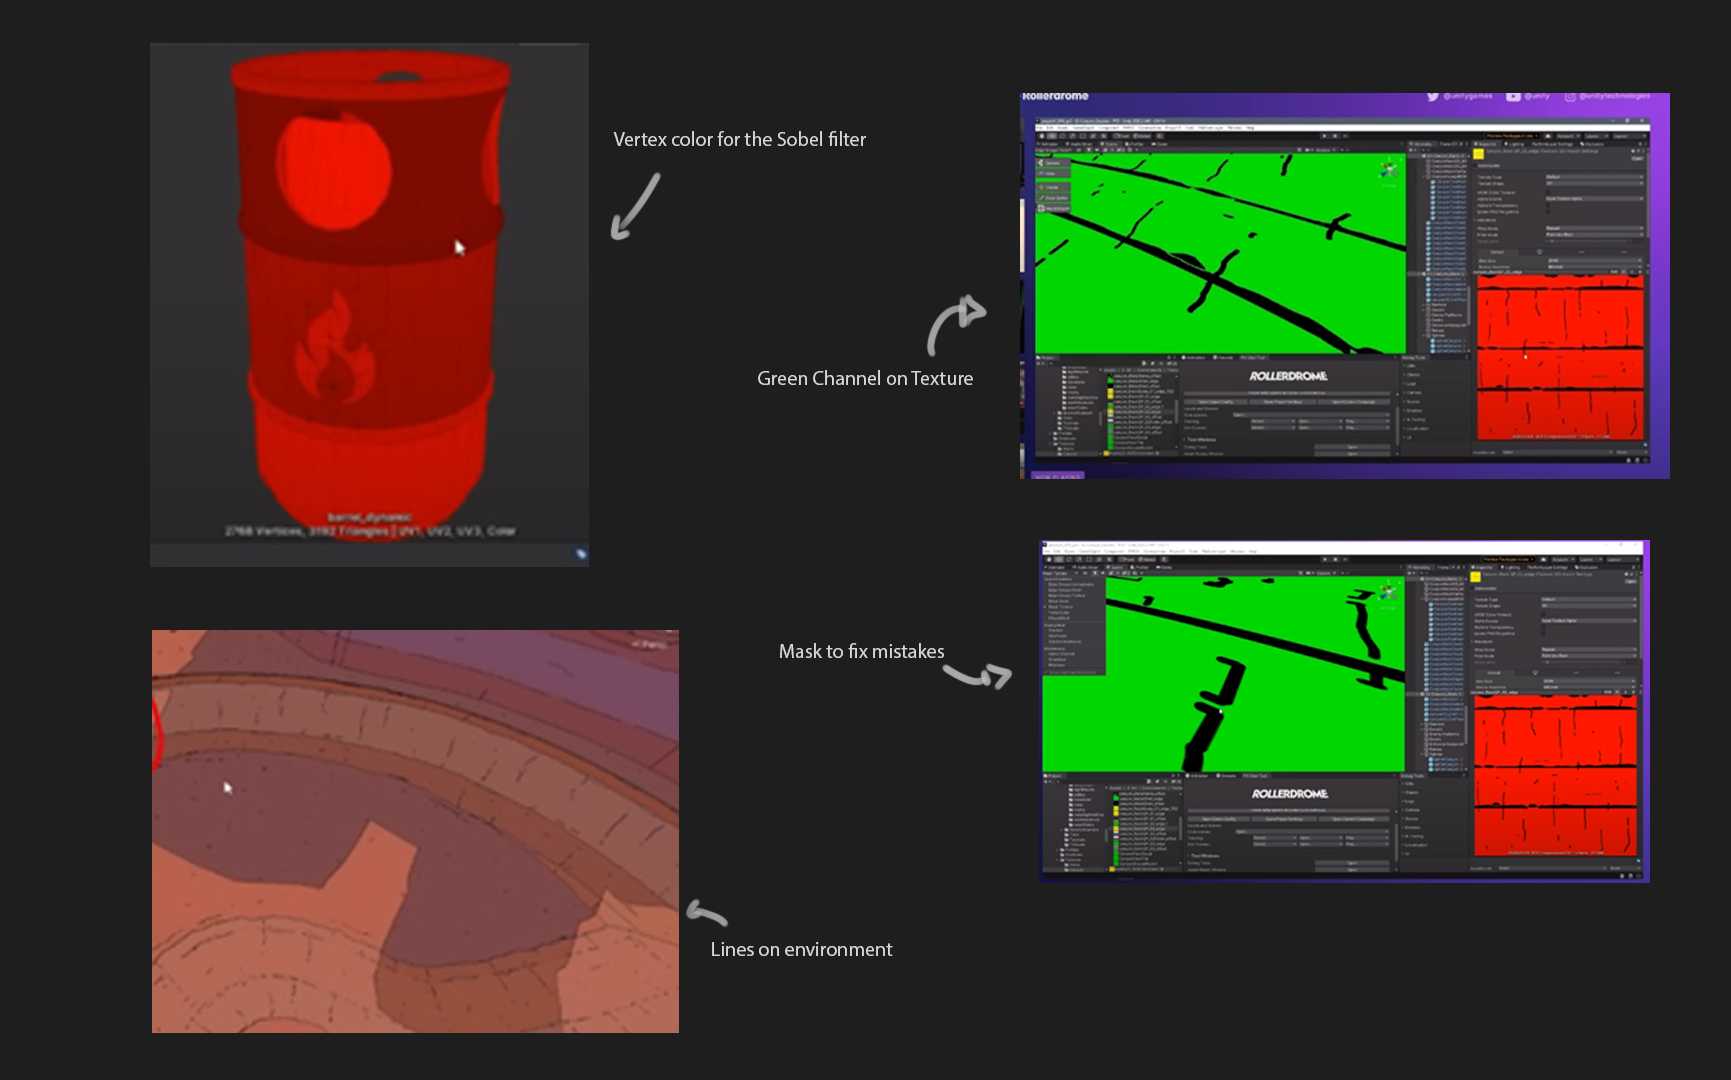
- OlliOlli World:
How did they achieve the graphic lines on the characters?
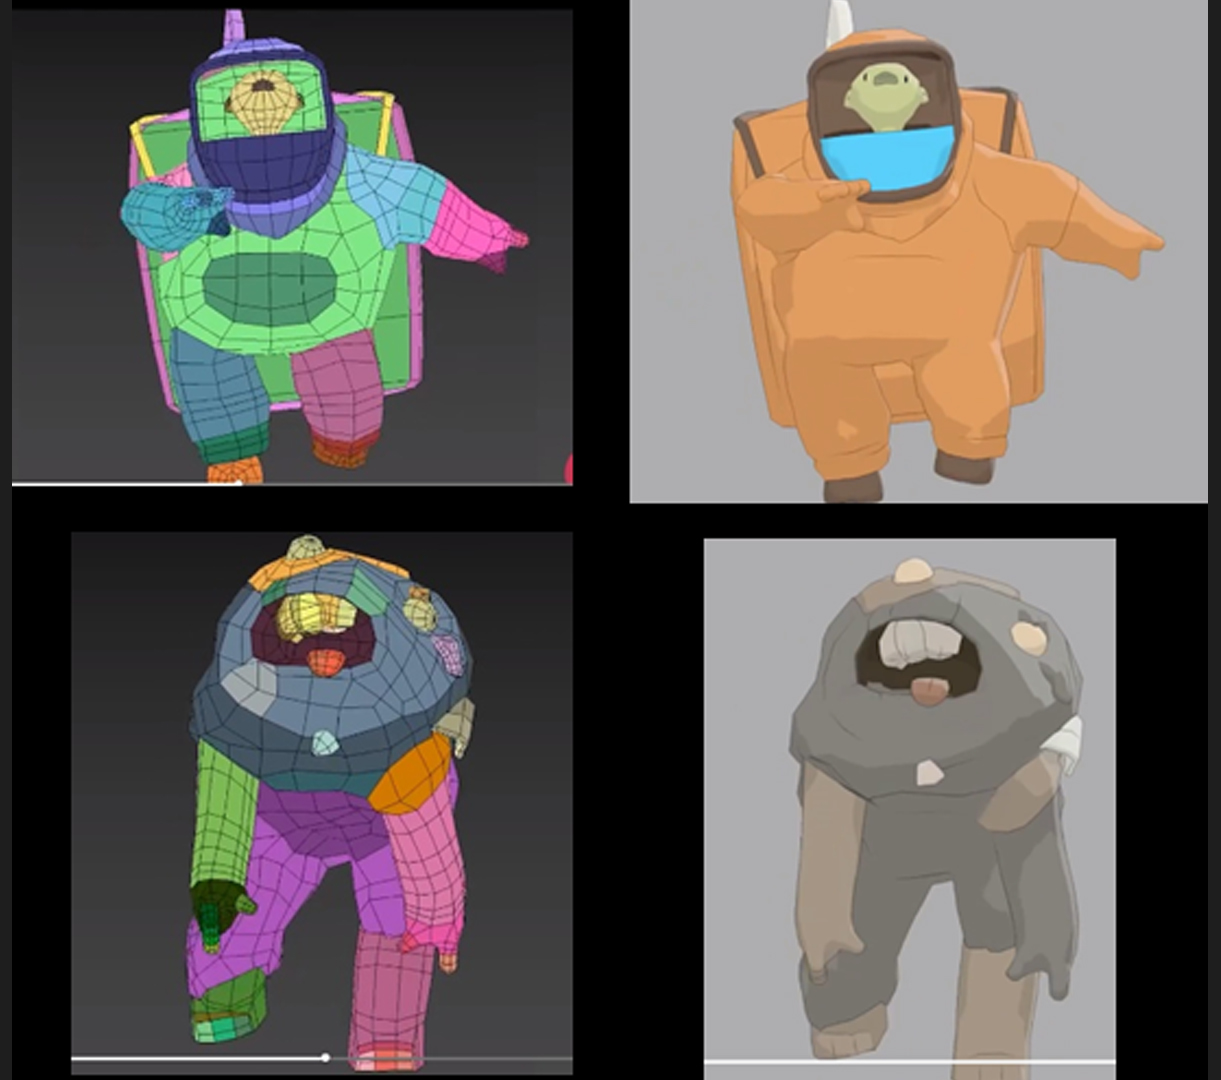
I believe they employ a similar approach in OlliOlli World, which aligns with our goals. It was challenging to find detailed information on how the cell and outline shading works, but after some digging, I discovered images illustrating how their characters are assembled. However, it appears that they use a mask painted on the characters and props in specific areas to define where the outlining should appear (at least, that's my understanding).
Next week we will have some experiment on how to implement this same workflow in the engine we are going to choose tomorrow. And we will also make a breakdown on the environment style of Olli Olli World.
Until next week!
Leave a comment
Log in with itch.io to leave a comment.